Sparks Drywall Repair Pros
Drywall Seam and Joint Repair in Sparks, NV
Drywall seam and joint repair in Sparks, NV. Retaping, feathered coats, texture match, free estimates for cracking seams.
- 15+ Years local experience
- 500+ Projects completed
- Licensed & Insured
Serving Sparks and nearby communities.
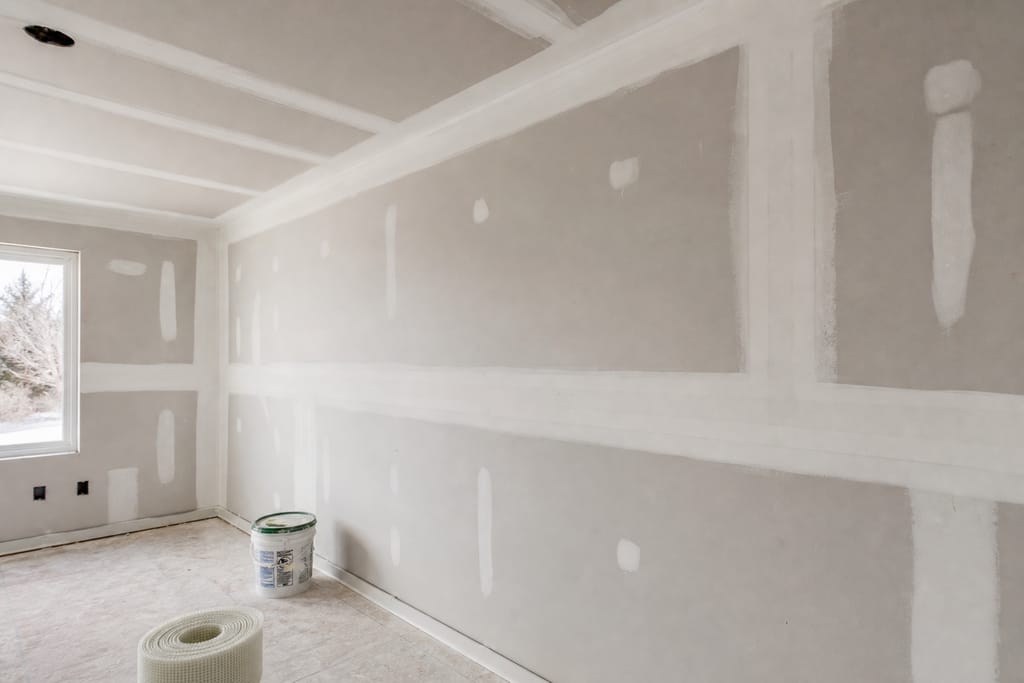
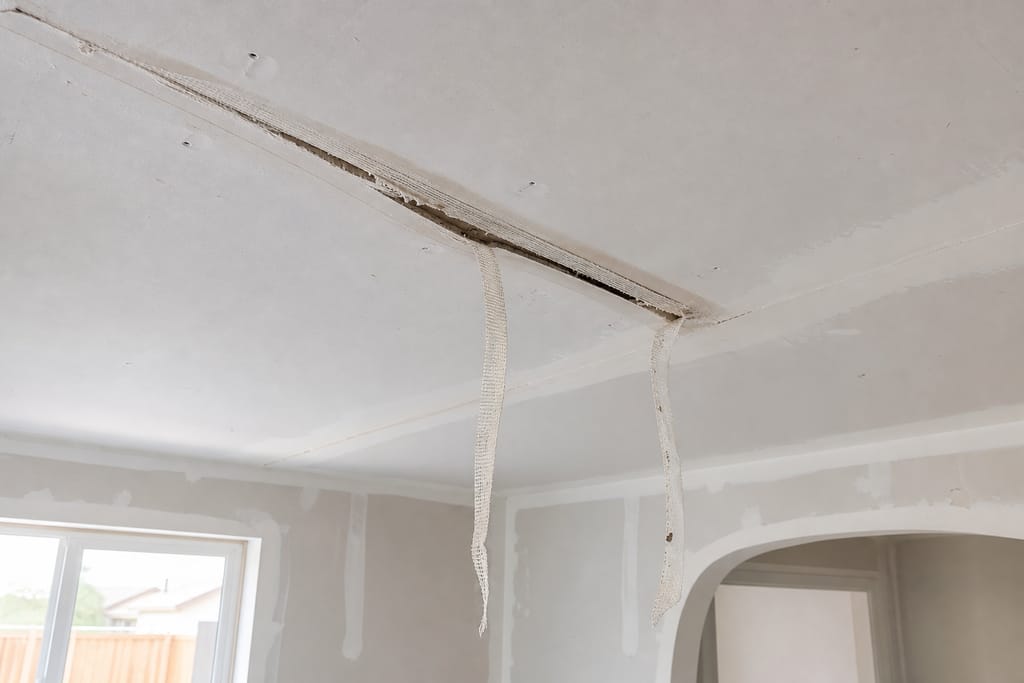
Long cracking lines along a ceiling-wall joint or between two sheets of drywall are a seam problem, not just a surface crack. This is different from general hole and crack patching, it needs the joint retaped and feathered flat so the repair doesn't telegraph through paint. Sparks homes go through big day-night temperature swings, and that constant expansion and contraction is exactly what breaks tape bond at seams over time.
Sparks Drywall Repair Pros handles seam and joint repair as its own job, with the coat count and dry time it actually needs.
What's included
What's Included with Drywall Seam and Joint Repair
Optional Customer prep
- Typically included — Removing loose or bubbled tape at the joint -.
- Retaping with proper embedding coat — Two to three feathered compound coats - Sanding flush and texture match to surrounding surface.
- Full-wall texture blending if the seam runs a long span
- Ceiling-to-wall corner bead check while we're in the area
- Clear furniture or wall hangings near the seam
- Note if the crack has reappeared after a prior repair
Want a clearer scope?
Get a Free EstimateHow it works
How Our Drywall Seam and Joint Repair Process Works
 Step 1
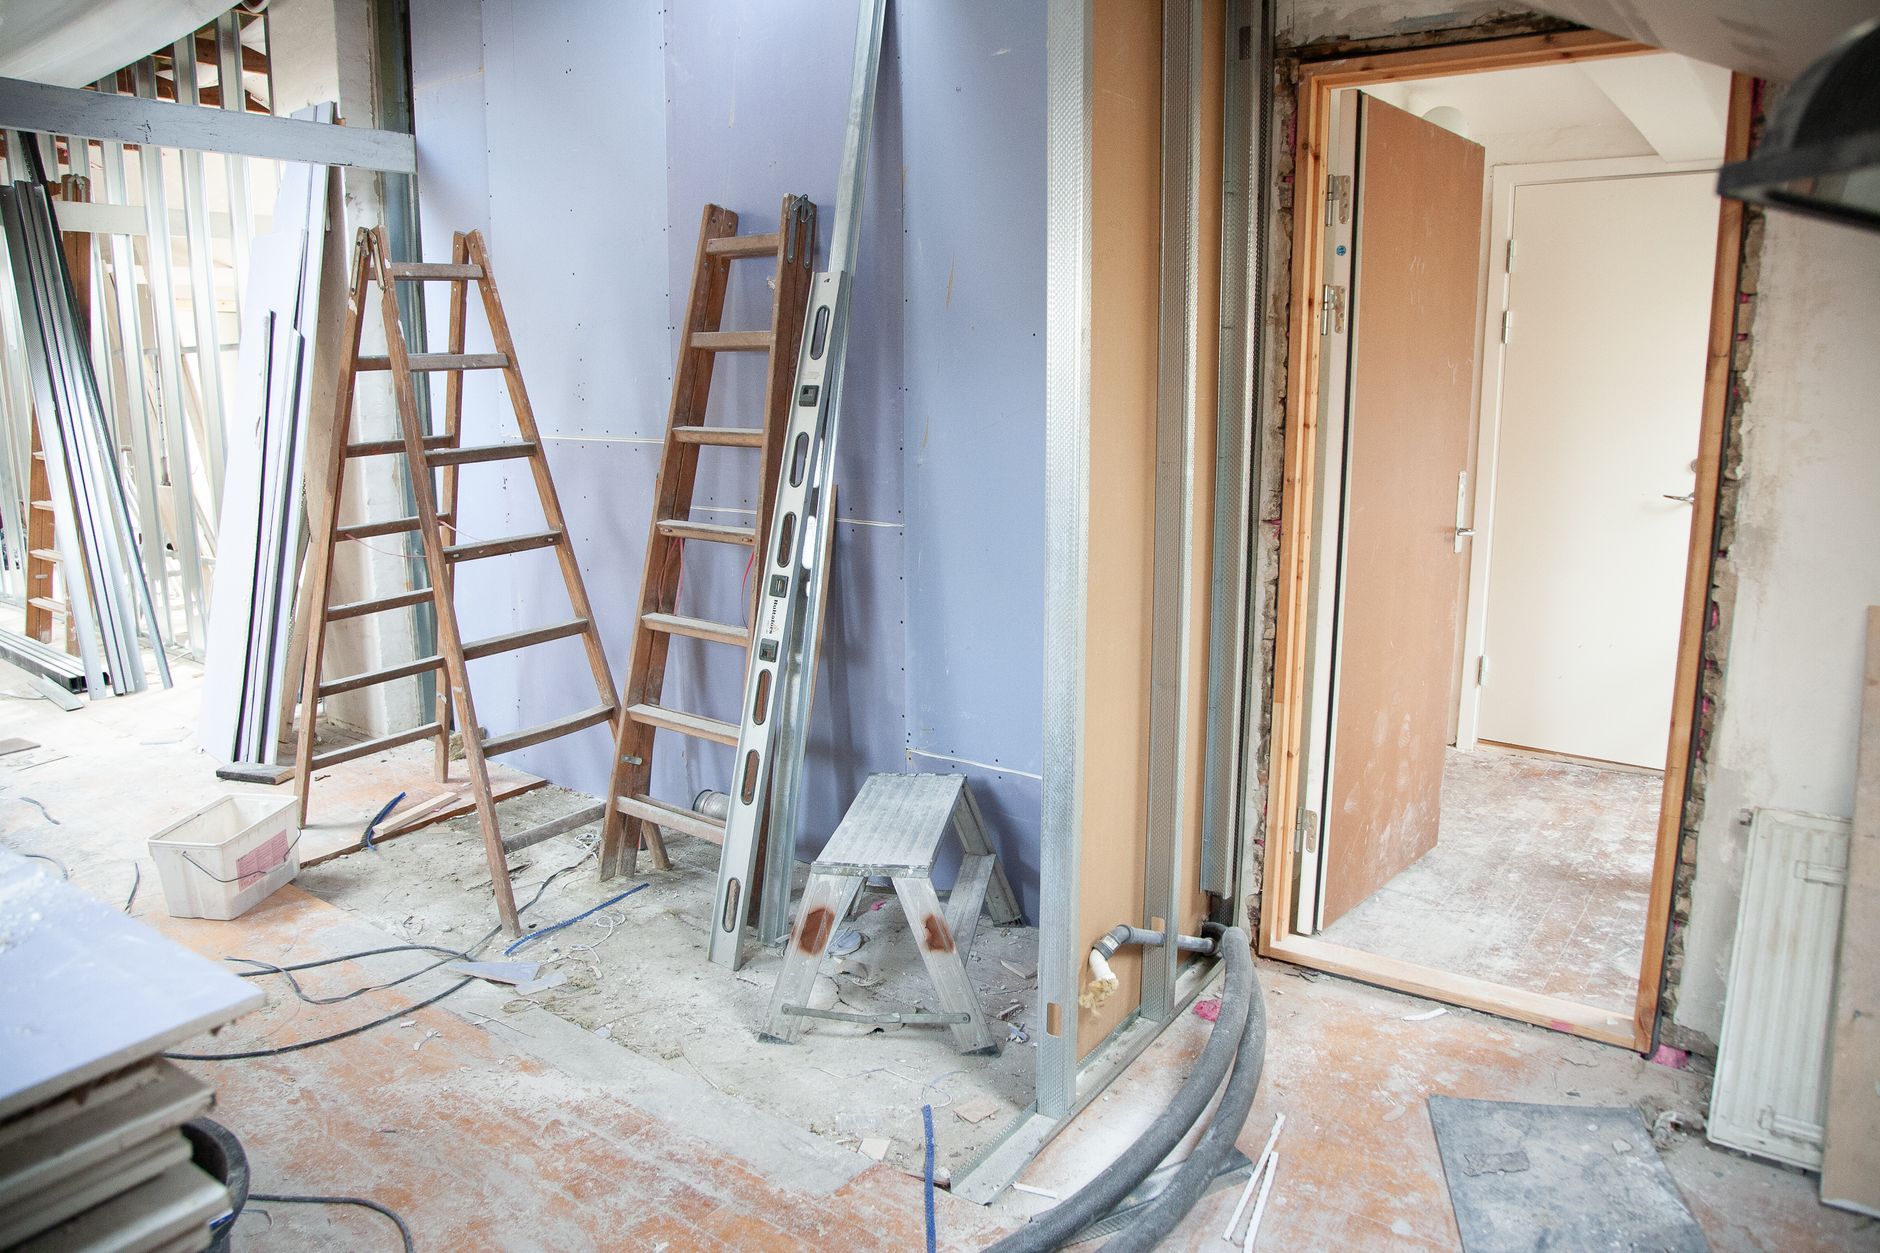
Inspect the joint
Check tape bond and framing movement at the seam.
 Step 2
Remove failed tape
Cut back loose or bubbled sections cleanly.
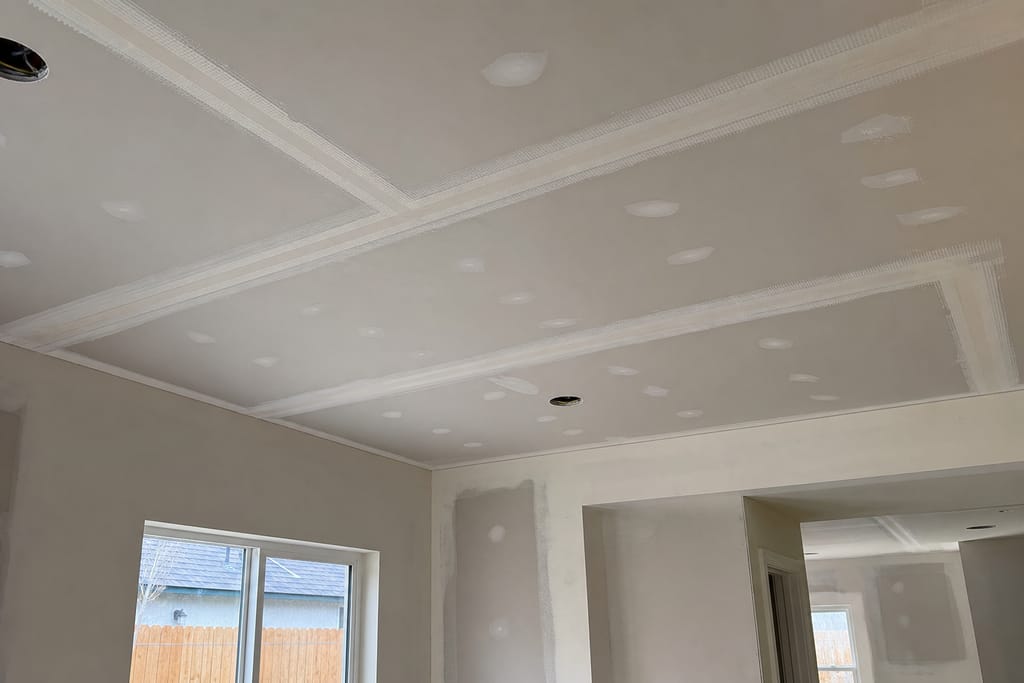 Step 3
Embed new tape
Set paper or mesh tape in the first mud coat.
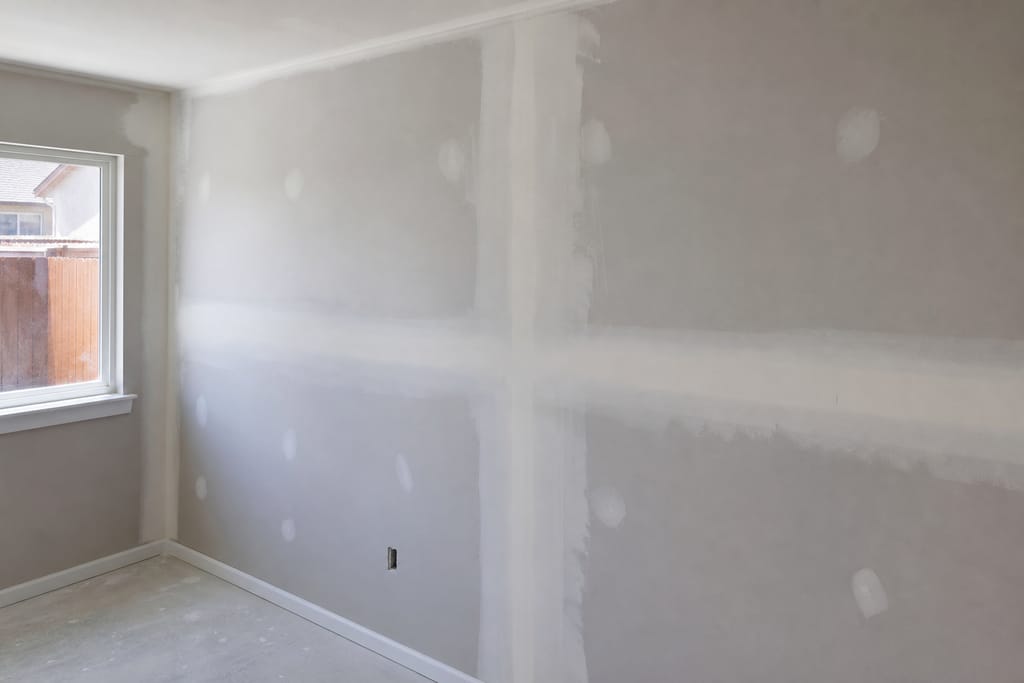 Step 4
Apply feather coats
Build two to three wider, thinner coats.
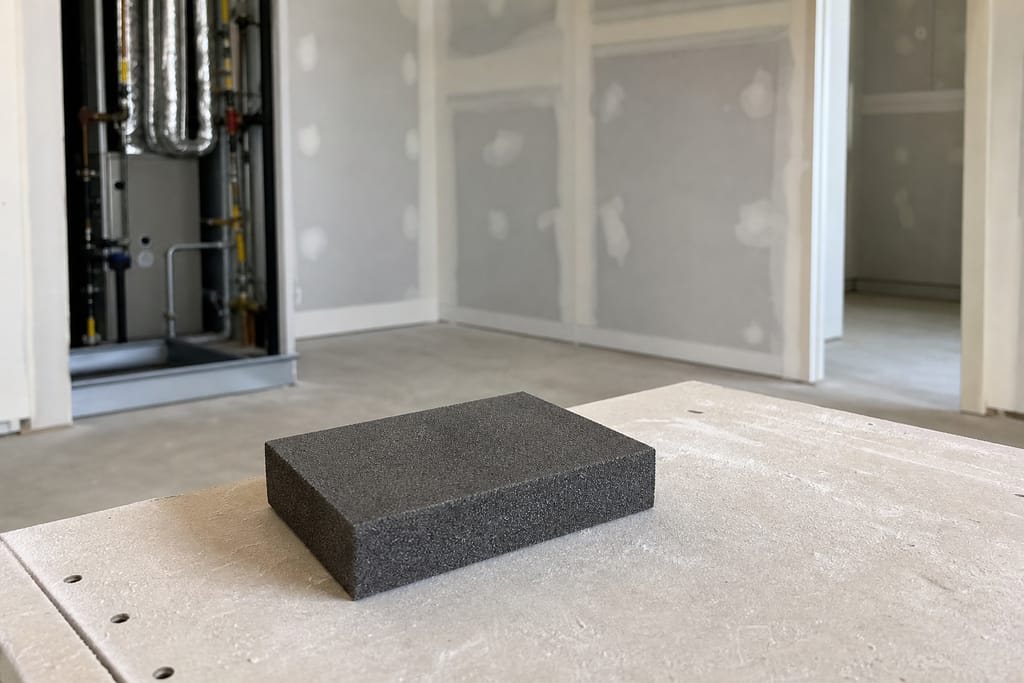 Step 5
Sand between coats
Light sanding keeps edges flat and flush.
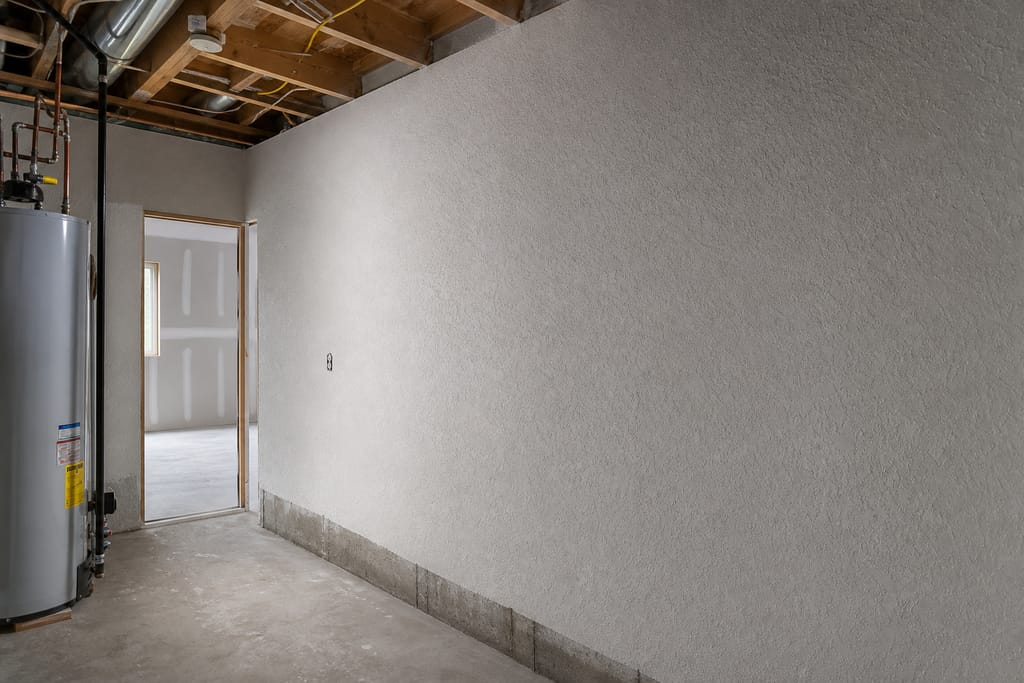 Step 6
Texture match
Blend knockdown, orange peel, or smooth finish.
 Step 7
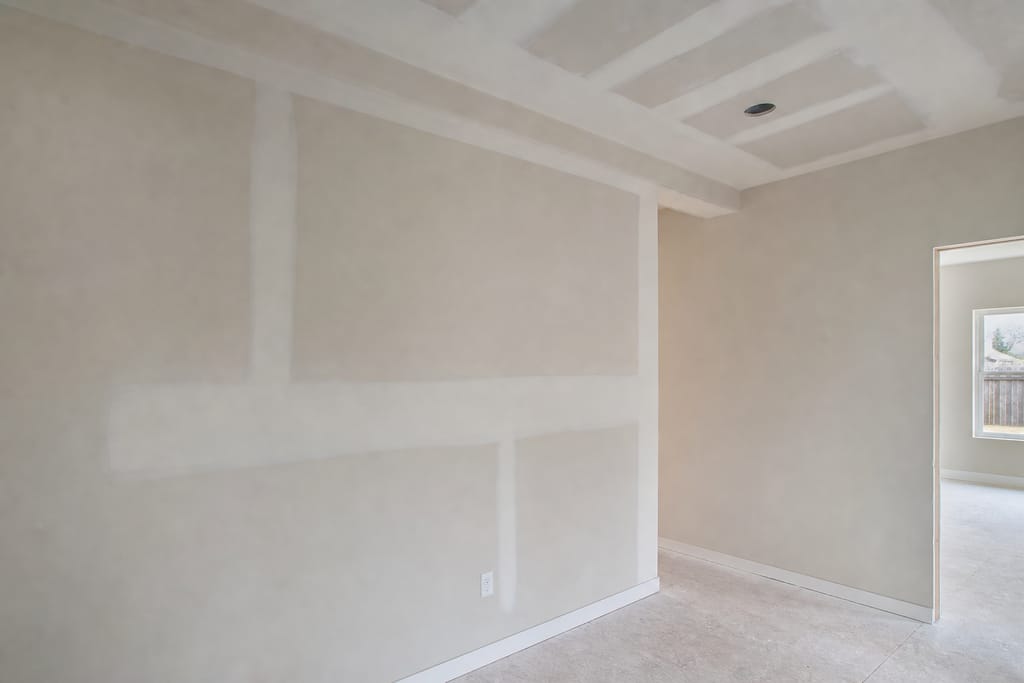
Final inspection
Check under raking light for flatness.
 Step 8
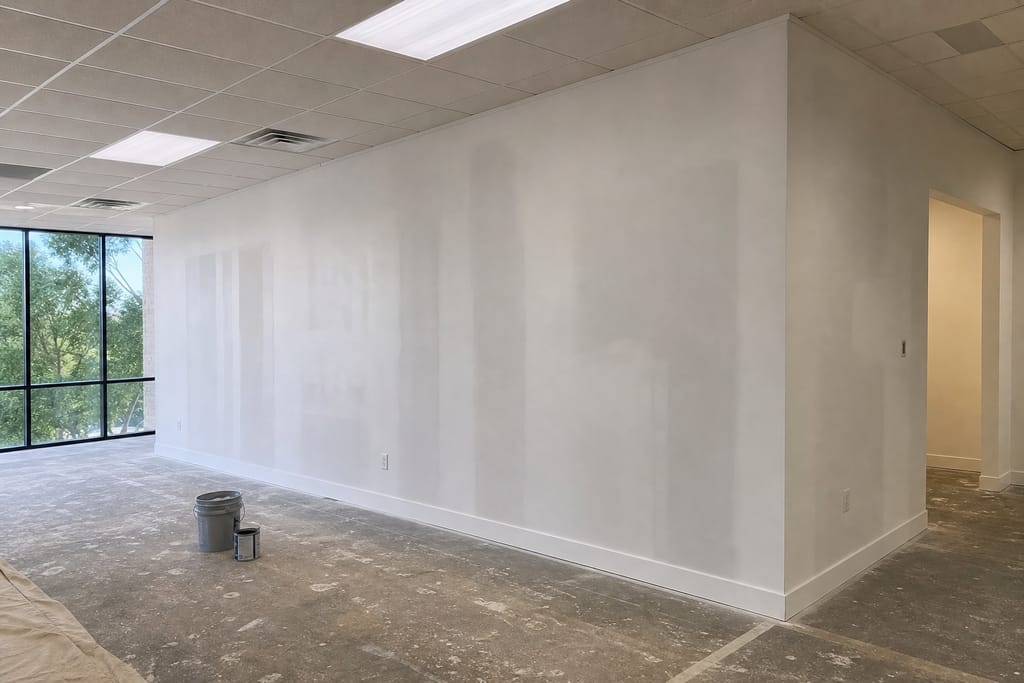
Paint-ready handoff
Surface ready for primer and paint.
Materials
Materials and Methods for Drywall Seam and Joint Repair
Seam work lives or dies on tape choice and coat technique, so we pick materials based on the joint type and how much movement caused the failure.
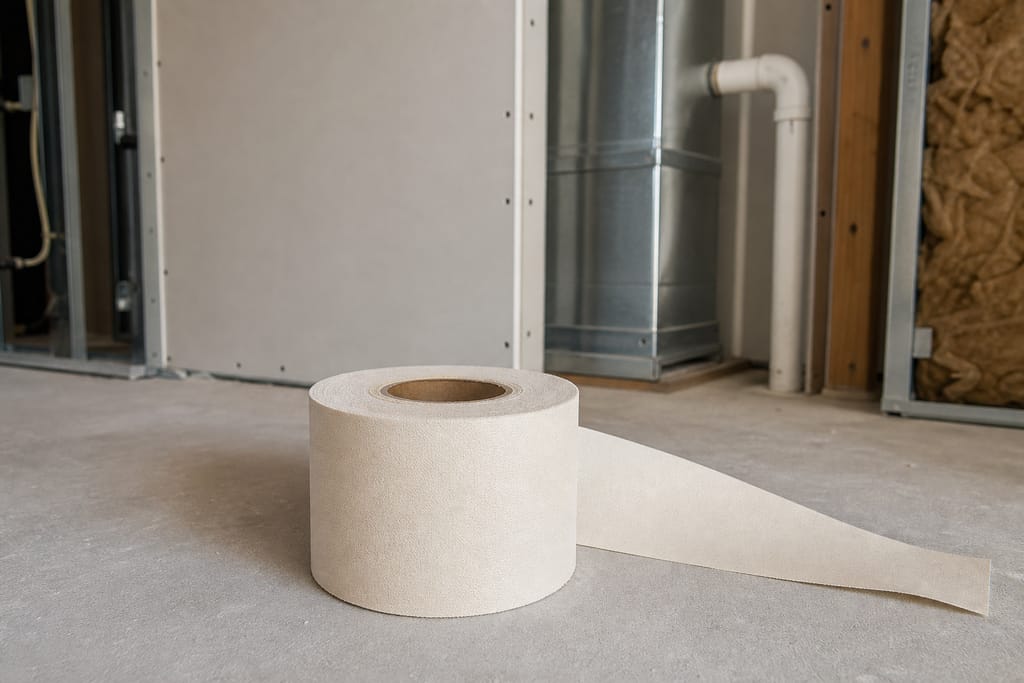
Paper tape with embedding compound
Paper tape holds a crisp, flat seam on straight runs and resists print-through better than mesh on ceiling joints.
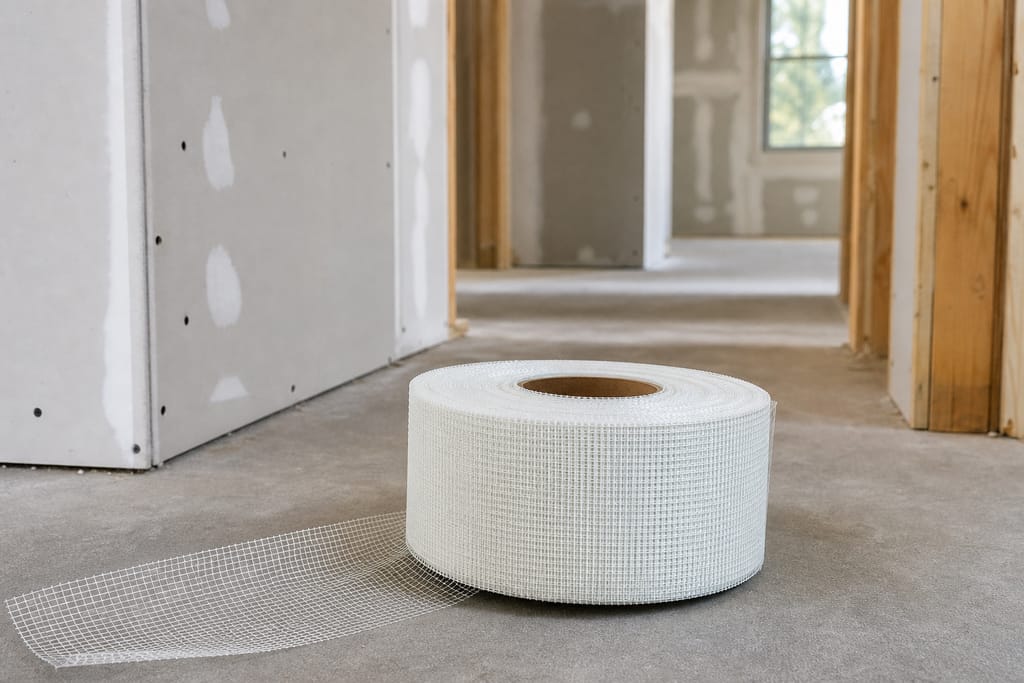
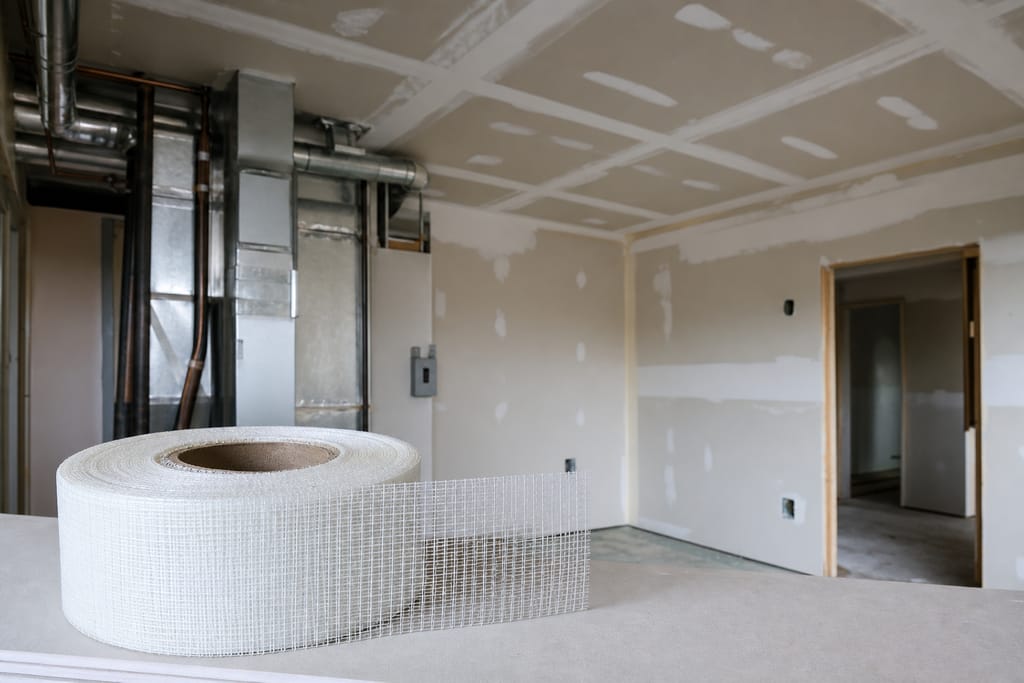
Self-adhesive mesh tape
Mesh speeds up smaller repairs and works well with setting-type compound where extra strength is needed.
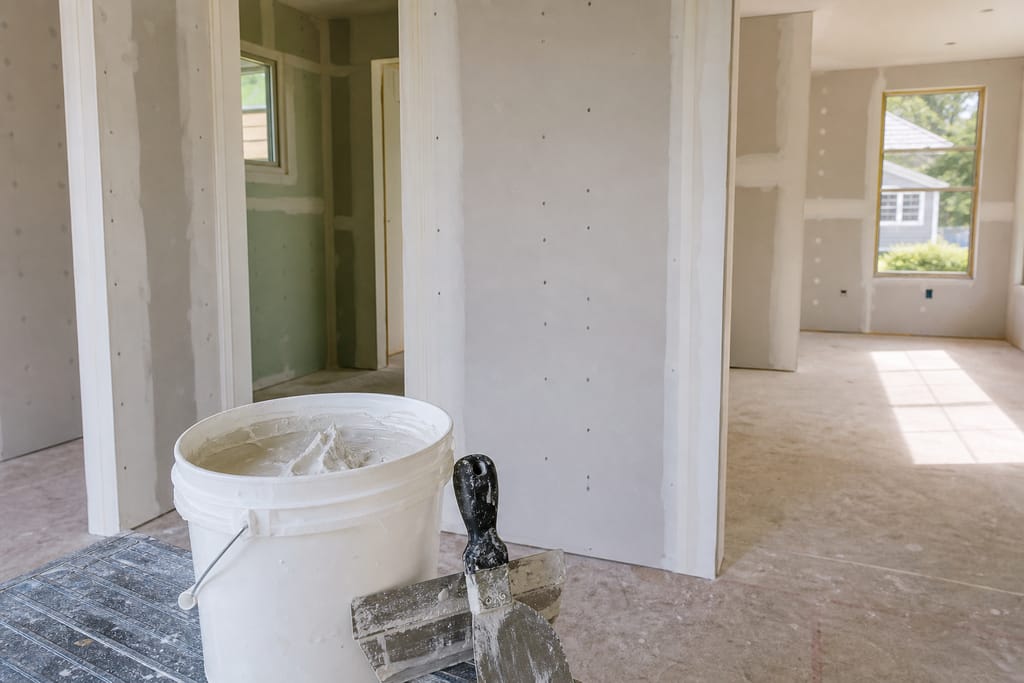
Setting-type joint compound
Chemical-set compound cures on a fixed schedule regardless of Sparks' dry air, giving predictable timing for the first coat.
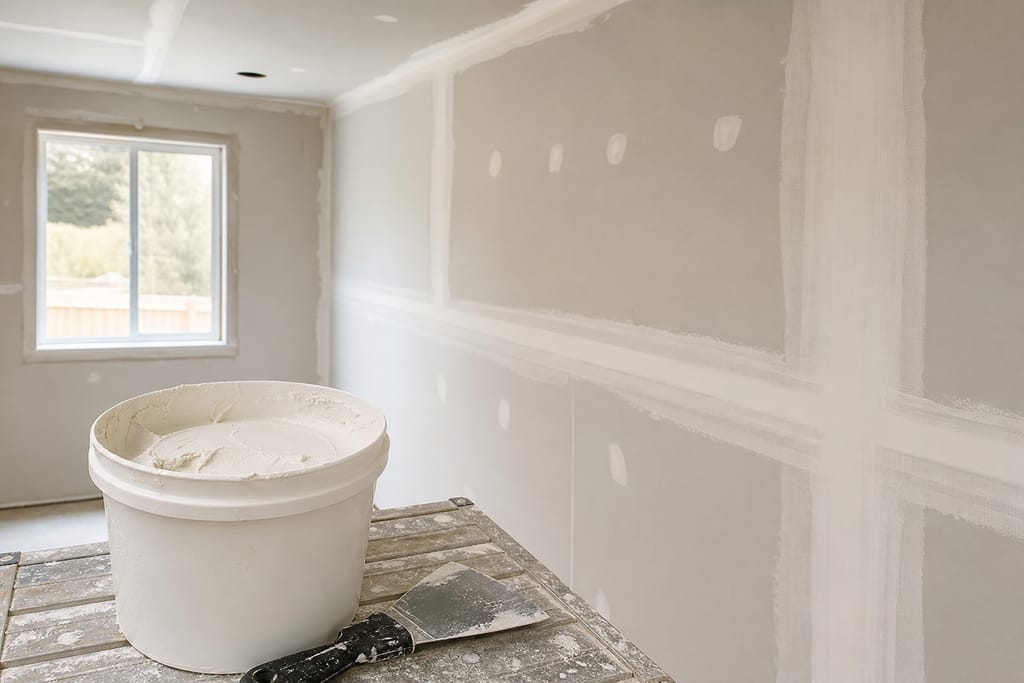
All-purpose finish compound
Easier to feather thin for the final coats, which is what makes the seam disappear once painted.
Corner bead where applicable
Used when a seam repair runs into an outside corner that also needs reinforcement.
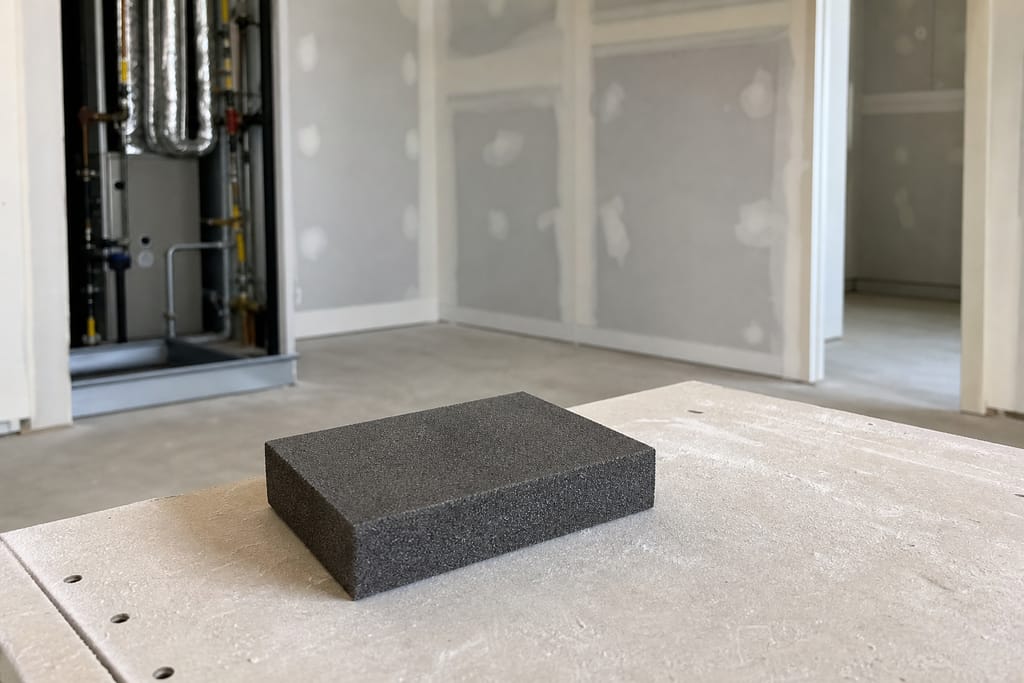
Fine-grit sanding screens
Keep the feathered edges flat without gouging the surrounding drywall paper.
Questions on materials?
Get a Free EstimateTimeline
How Long Does a Drywall Seam and Joint Repair Take?
A short seam with one or two coats can wrap up quickly, but proper seam work usually spans a couple of visits so each coat dries fully before the next goes on.
- 01
Site visit and assessment
same day - 02
Tape removal and re-embed coat
Day 1
- 03
Feather coats (2-3 rounds)
2–3 days - 04
Sand and texture match
Final day
- 05
Paint-ready
After texture cures.
Need a schedule that fits?
Get a Free EstimateCodes & permits
Permits and Codes for Drywall Seam and Joint Repair
Permit requirements can vary. Check with Sparks or Washoe County building department for your specific project before starting work.
| Typically needs a permit | Often no permit |
|---|---|
| Seam repair tied to removal of a load-bearing wall section | Standard ceiling-to-wall seam retaping |
| Joint repair on a fire-rated wall assembly between units | Cracking seam repair between drywall sheets |
| — | Texture matching after seam repair |
Need help with permits?
Get a Free EstimateCost
What Does a Drywall Seam and Joint Repair Cost in Sparks?
Pricing scales mostly with how much linear footage of seam needs retaping and how many coats it takes to get flat. These are ballpark ranges, not a fixed quote. Call for a free estimate based on your actual seam.
| Project type | Typical range | What’s included |
|---|---|---|
| Short seam repair | $150–$350 | single joint section, retape and feather. |
| Medium seam run | $350–$700 | longer ceiling or wall joint, multiple coats. |
| Multiple seams in one room | $700–$1,400 | several joints plus texture blending. |
| Seam repair with corner bead work | $500–$1,000 | includes outside corner reinforcement. |
These are typical local ballparks — final cost depends on scope, materials, and site conditions. A free estimate gives you an accurate, itemized number for your home.
Want a number for your home?
Get a Free EstimateDIY vs pro
DIY vs Hiring a Pro for Drywall Seam and Joint Repair
| DIY | Hire a pro |
|---|---|
| Small hairline cracks along a seam can sometimes hold with a flexible caulk fill | Feathering multiple coats flat without ridges takes practice most homeowners don't have |
| Homeowners comfortable sanding can attempt a single thin coat over an existing intact seam | Skipping dry time between coats is the most common DIY mistake and leaves visible bulges |
| — | Longer runs or ceiling seams are harder to work overhead and get flush |
| — | Texture matching after the repair needs the right tools to disappear under paint |
Not sure DIY vs pro?
Get a Free EstimateWhen to call
When to Call for Drywall Seam and Joint Repair
Call Sparks Drywall Repair Pros or request a free estimate if any of these sound familiar.
- A crack keeps reappearing along the same seam line after a prior patch
- You see a long straight crack running the length of a wall or ceiling
- Tape is visibly bubbling, peeling, or separating from the wall
- A seam crack shows up right after a temperature swing or new HVAC season
Seeing warning signs?
Get a Free EstimateBefore & after
Before and After Drywall Seam and Joint Repair
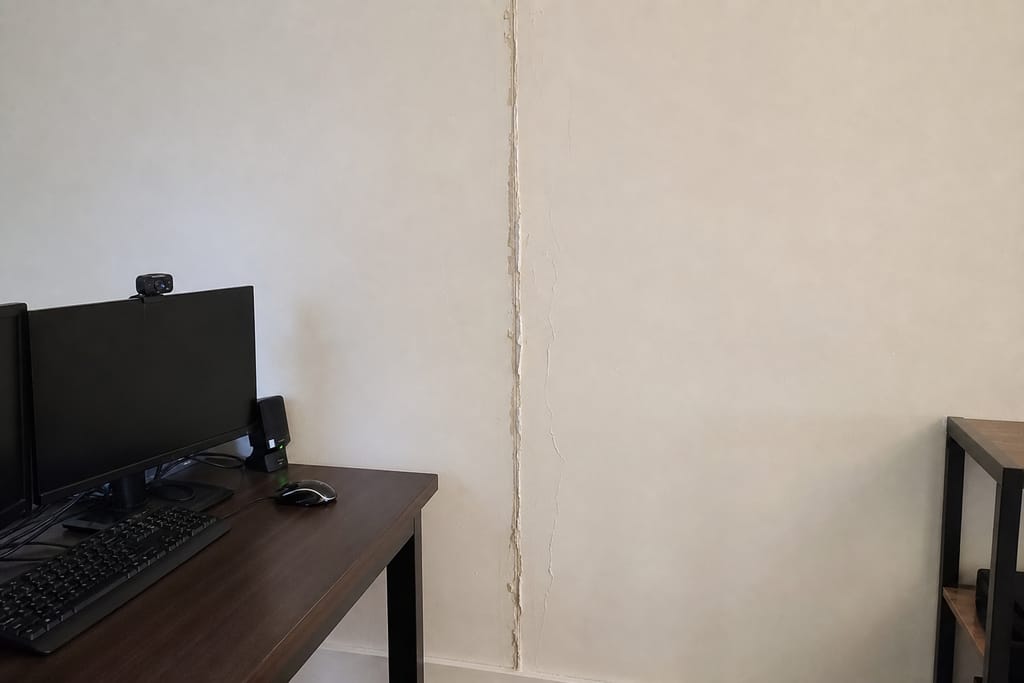
Before 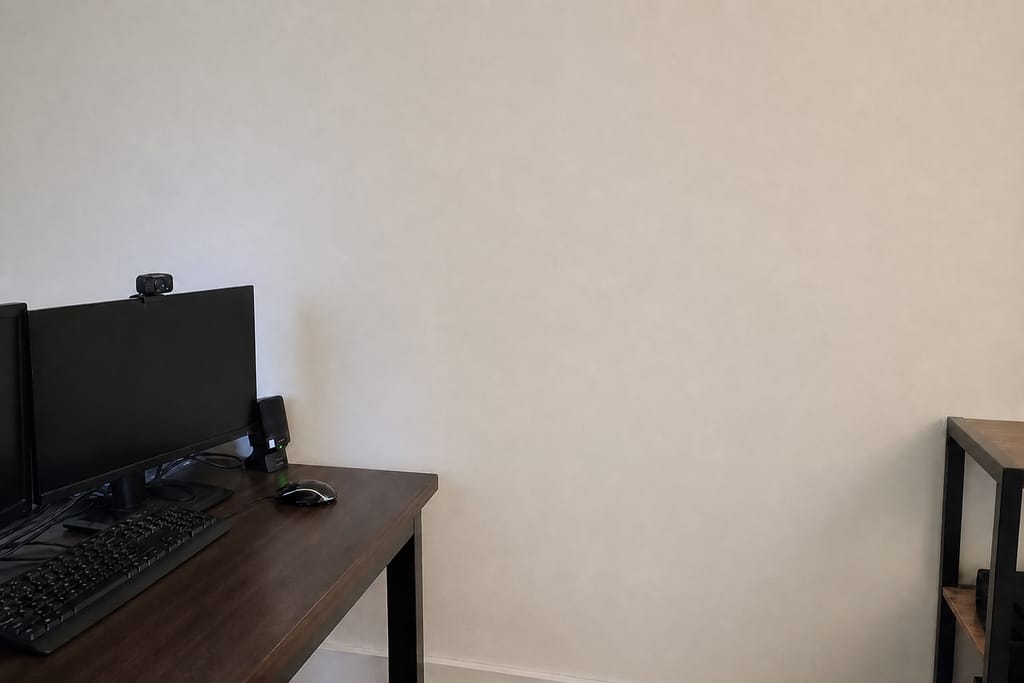
After
FAQs
Drywall Seam and Joint Repair FAQs
Why do seams crack even when the rest of the wall is fine?
Seams are the weakest point in a drywall installation because they rely on tape bond rather than a solid sheet. Temperature swings and minor framing movement stress that bond first.
Can a seam crack be fixed with just caulk?
Caulk can mask a hairline crack temporarily, but it isn't a lasting fix for a failed tape joint. A proper repair removes the old tape and rebuilds the joint with fresh embedding compound.
How many coats does a seam repair actually need?
Most seam repairs need two to three feathered coats to build a flat, invisible transition. Fewer coats often leave a visible ridge once painted.
Will the repair look different from the rest of the wall?
Not if texture matching is done correctly. We identify the existing texture pattern and blend the repaired area to match before handing it off paint-ready.
Do I need to paint the whole wall after a seam repair?
Usually just the repaired section needs primer and touch-up paint, though a full wall repaint gives the most even look if the existing paint has aged unevenly.
How long before I can paint over the repair?
Once the final coat is sanded and texture is dry, the area is ready for primer. Dry time depends on coat thickness and how many rounds were needed.
Is this the same service as general drywall patching?
This service focuses specifically on the joints where two sheets meet, which need a different repair approach than a hole or dent in a single sheet.
Next step
Get a Drywall Seam and Joint Repair Estimate in Sparks
Call Sparks Drywall Repair Pros at +1 (775) 922-3398 or request a free estimate for a seam that keeps cracking. We'll take a look and give you a straight answer.
More services
Other Drywall Repair services
Drywall Hole and Crack Patching
Drywall hole and crack patching in Sparks with mesh tape, setting compound, and texture match. Free estimates, no guesswork pricing.
Sheetrock Repair
Sheetrock repair in Sparks for damaged sections, water stains, and cracked seams. Board replacement, taping, texture match, free estimates.
Drywall Patch Repair
Drywall patch repair in Sparks for dents, punctures, and corner damage. Fast turnaround, texture matched, free estimates.
Ask about Drywall Seam and Joint Repair
Tell us about the project and how to reach you.